Cordary TeamOfficial Cordary account5 min read
How to Set Up a Discord Server in 2026: Complete Beginner's Guide
A step-by-step guide to setting up a Discord server: plan your channels, create roles, lock down permissions, add safety settings and prepare for launch.
In this post
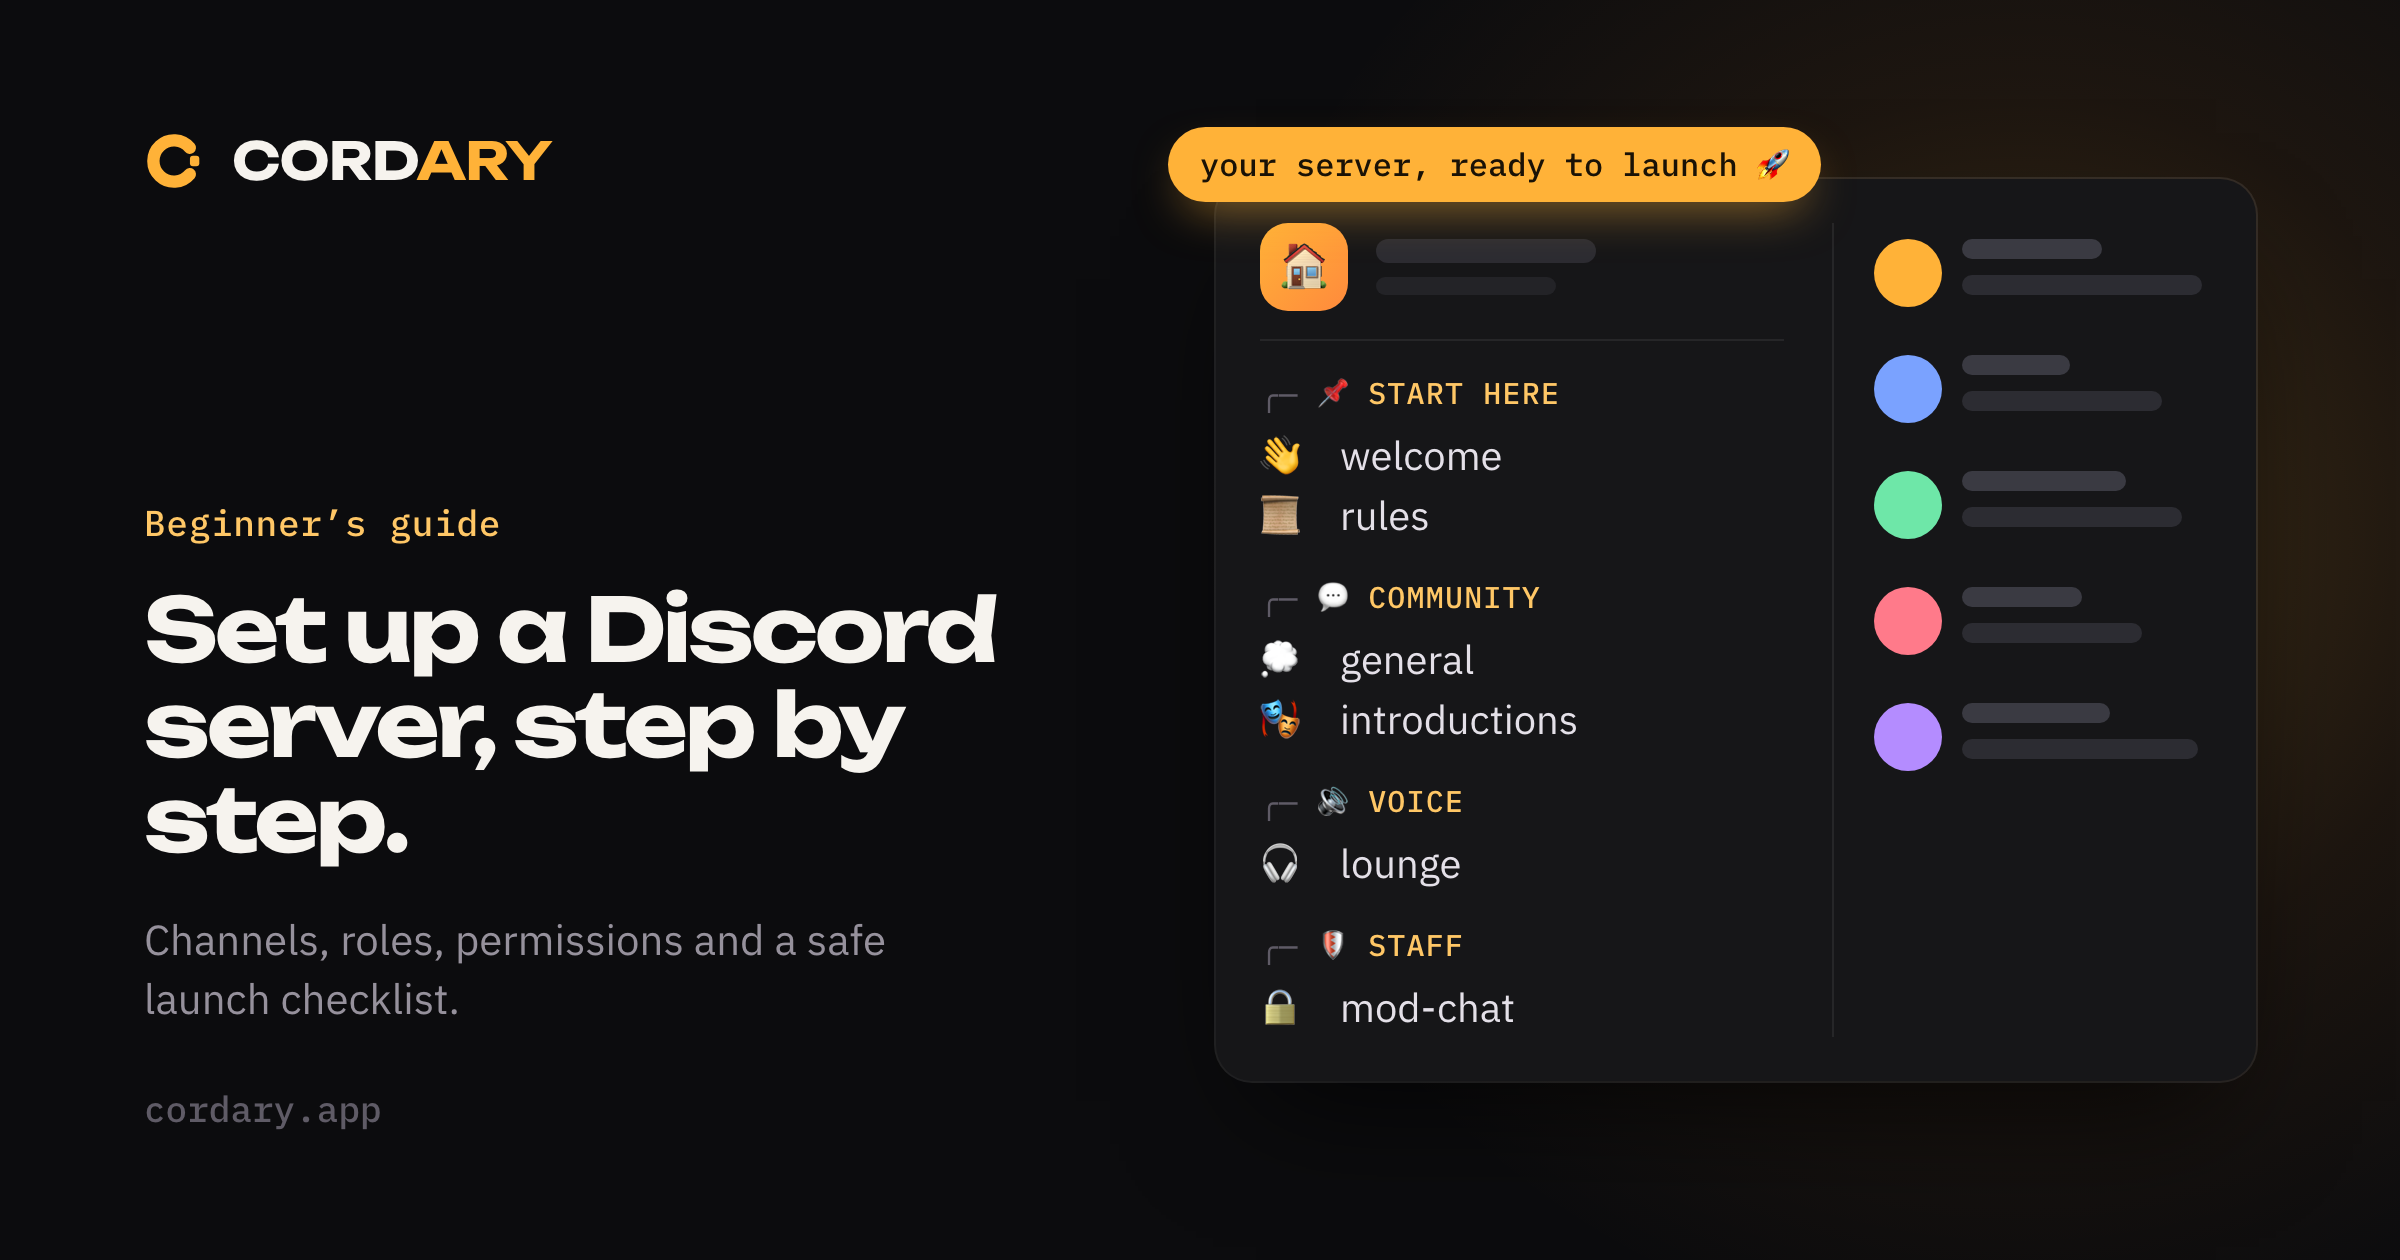
Creating a Discord server takes about thirty seconds. Setting one up so people actually stay takes a little more thought.
This guide walks through the whole job in order: the plan, the channels, the roles, the permissions, the safety settings and the launch. You don't need any experience, and you don't need to get everything perfect on day one. You need a structure that makes sense and doesn't lock you into mistakes.
Before you start: decide what the server is for
Spend five minutes answering three questions. They decide almost every choice that follows.
- Who is it for? Friends, a game's players, customers, students, fans of something.
- What will they do here? Chat, find teammates, get help, share work, follow news.
- Who runs it? Just you, or you and a few people you trust.
Write the answers down in one sentence: "A server for the players of our Valorant squad to find games, share clips and coordinate scrims, run by me and two friends." That sentence is your filter. A channel, role or rule that doesn't serve it can wait.
Step 1: Create the server
- Click the + at the bottom of your server list.
- Choose Create My Own, then the option that matches your audience (For a club or community or For me and my friends).
- Give it a name and an icon. You can change both later, so don't stall here.
Discord creates a few default channels and one default voice channel. You'll replace most of them in the next step.
Step 2: Plan your channels
New server owners tend to over-build. A new community does well with 5 to 8 channels, grouped into a few categories. Our guide to how many channels a server needs goes deeper, but here is a starting point:
| Category | Channels | What it's for |
|---|---|---|
| START HERE | #welcome, #rules |
First impressions and expectations |
| INFORMATION | #announcements |
Updates people shouldn't miss |
| COMMUNITY | #general, #help |
Everyday conversation |
| VOICE | Lounge |
Talking out loud |
| STAFF | #staff-chat |
Private coordination |
A few habits that pay off:
- Give every channel one job you could explain in a sentence.
- Use categories to group channels by purpose, so the sidebar reads like a table of contents.
- Keep names short and lowercase. Discord turns spaces into hyphens in text channels anyway.
- Leave out channels you "might need". It's easier to add one later than to explain why an empty one exists.
Emoji in channel names (like 👋 welcome) make a server friendlier to scan. They can make channels harder to type and search, so use them for structure rather than for every name.
Step 3: Create your roles
Roles are how Discord decides who can do what. Start with a small set:
| Role | Who | Notes |
|---|---|---|
| Admin | You, and at most one or two people you fully trust | Holds the powerful permissions |
| Moderator | People who keep the peace | Can manage messages and members, not the server |
| Member | Everyone who joins and agrees to the rules | The default for regular people |
Create them in Server Settings → Roles. Order matters: a role can only manage roles below it, so drag Admin above Moderator and Moderator above Member. Our guide to Discord roles and permissions explains the hierarchy and the permissions worth being careful with.
The most common beginner mistake is giving out Administrator because it's easy. It bypasses every channel restriction, and anyone or any bot that holds it can change anything. Give people the specific permissions their job needs.
Step 4: Set permissions
Permissions work in layers. Roles set the baseline for the whole server, and channels and categories can override it.
- Set
@everyoneconservatively. Everyone who joins has this role, so anything you enable here, everyone gets. Turn off Mention @everyone, @here and All Roles and Manage Webhooks, and think twice about anything else beyond reading, writing and joining voice. - Make the staff area private. On the
STAFFcategory, deny View Channel for@everyoneand allow it for Moderator and Admin. Channels in the category will follow it while they're synced. - Make announcements read-only. In
#announcements, deny Send Messages for@everyoneand allow it for Admin and Moderator. - Test it. Use Server Settings → Roles → View Server As Role to see what a Member sees.
If your private channel behaves oddly, this guide covers the usual causes.
Step 5: Write rules and a welcome
A short #rules channel prevents most arguments. Aim for five to eight plain rules: be respectful, no spam or ads, no hate or harassment, keep topics in the right channels, and how to reach a moderator.
Then give #welcome one job: tell a new person what the server is, where to go first and what to do next. Pin the message.
Step 6: Turn on the safety settings
In Server Settings → Safety Setup (or the moderation settings, depending on your version), check these:
- Verification level: set it above "None" so brand-new throwaway accounts can't post instantly. "Low" (a verified email) is a reasonable start for a small community.
- Explicit media content filter: scan media from members, or at least members without roles.
- Two-factor authentication for moderators: require it, so a stolen moderator login can't be used to damage the server.
- AutoMod: block obvious spam and mass mentions so you aren't doing it by hand.
None of these makes a community good, but they stop the most common ways a young server goes wrong.
Step 7: Invite people and launch
- Start small. Invite two or three friends first and ask them to click through as new members. What confuses them will confuse everyone.
- Create an invite link in the invite dialog, and think about setting an expiry or a use limit while you're testing.
- Add a few conversation starters so the first real members don't walk into silence.
- Open the doors and tell people where to find you.
Launch checklist
- The server has a one-sentence purpose.
- Channels are grouped in categories, and each has one job.
- Admin, Moderator and Member roles exist, in that order.
-
@everyonehas only the permissions everyone should have. - The staff area is private, and announcements are read-only.
- Rules and a welcome message are posted and pinned.
- Verification level, content filter and AutoMod are on.
- You've viewed the server as a new Member.
Or start from a description
If the channel-by-channel clicking is the part you dread, Cordary can draft this structure for you. You describe the community in plain language, and it proposes the roles, categories, channels and permissions. You review every change before anything touches your server, and you can roll back what it created. There's a free plan to try it on a new server.
Either way, treat the first version as a draft. A server's structure should change as the community does. The goal for launch day is a server that's clear and safe, not finished.
More in #guides
How to Use Cordary's Checkup: Findings, Fix This and Scheduled Checkups
A walk through Cordary's Checkup tab. Read the findings, fix one with a change you review, dismiss what's fine, run the full checkup, and set up scheduled checkups with an optional Discord post.
Should You Give a Discord Bot Administrator? When It's Fine and When It Isn't
Many Discord bots ask for Administrator. Here's what it really allows, when it's reasonable, when to say no, and how to check what a bot can do in your server.